Custom Search
|
|
  |
|
|
The Huntron Tracker 2000 has the following features:
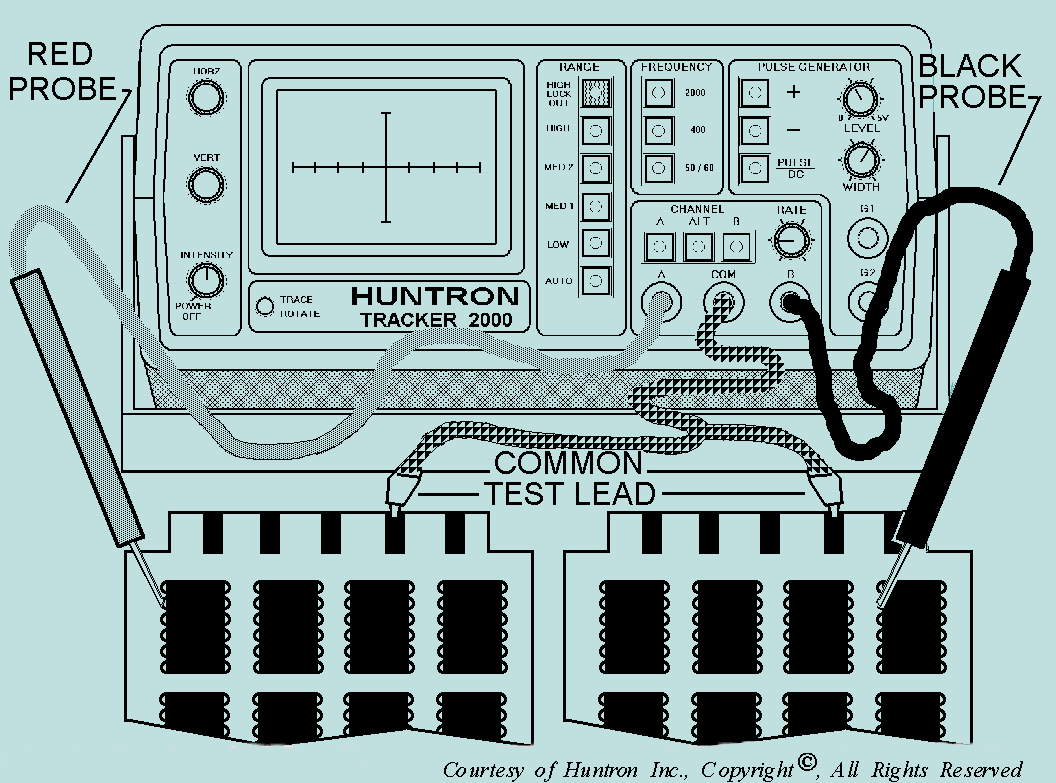
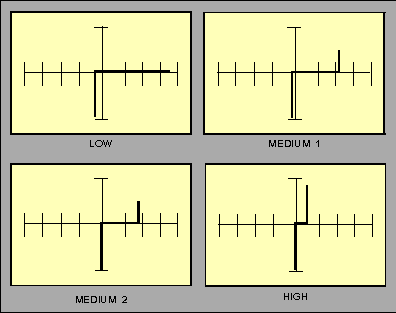
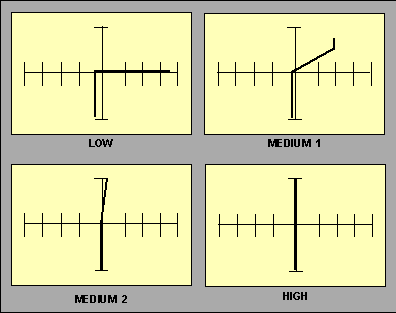
The device to be tested must have all power turned off, and have all high voltage capacitors discharged before connecting the Tracker 2000 to the device. Testing Components by Comparison Testing components by comparison is the most preferred method for troubleshooting. The ALT (alternate) mode setup is the most commonly used mode for this method. This mode allows the technician to compare a known good component to a suspect component. This is accomplished by connecting channel A to a known good device, channel B to the device under test, and a common test lead to COM as illustrated in figure 2 - 34. Select the ALT button, and the 2000 will alternately display the signature of the known good device and the device under test. By examining the signature differences, you can detect a defective component. Figure 2 - 35 is a typical example of the CRT display on the 2000 while testing the base to emitter on a good transistor. Figure 2 - 36 illustrates a defective transistor under the same test setup. Note that in the low range, the transistor appears to be good. Sometimes component defects are more obvious in one range than another, so is a suspect device appears normal for one range, try the other ranges. Figure 2 - 34. - Alternate mode setup.
Figure 2 - 35. - Signatures between base-emitter of a good transistor
Figure 2 - 36. - Signatures between base-emitter of a defective transistor.
Q.31 What is the most preferred method of troubleshooting? Troubleshooting Tips When you are testing individual components in a circuit, a parallel resistor or diode of similar value may cause a defective component to appear good. Therefore, you should, in most cases, electrically isolate the suspected component from the circuit while testing individual components. The best way to do this is to desolder all but one lead on the suspected component. Q.33 When you are testing individual components in a circuit, what may cause a
defective component to appear good? You should be aware that devices made by different manufacturers may appear to have slightly different signatures. This is normal, especially with digital integrated circuits, and does not necessarily indicate a failed device. When this occurs, the best way to verify this is to compare the outputs of the device under test with the equipment specifications to ensure the signals are adequate for proper equipment operation. |
 |